
Last updated September 24, 2026
Attic Insulation Maintenance Checklist for Pflugerville Homeowners
Pest intrusion, HVAC condensate leaks, and settling blown-in material can drop effective R-value by 30-40% without producing a single visible symptom from the living space below. In Pflugerville, builder-grade attic access hatches are the single most common entry point for all three problems. This guide gives you a six-point inspection form you can complete yourself on an annual walk-through, so you arrive at any contractor conversation with your own dated baseline rather than relying solely on someone else’s assessment. No ladder-climbing experience required, and no specialized tools beyond a tape measure, flashlight, and smartphone camera.
Quick Answer
Attic insulation maintenance in Pflugerville means an annual walk-through to measure insulation depth at three points, check your access hatch for gaps and moisture staining, photograph any ductwork condensation or pest disturbance, and record wind-washing at the eaves. Document everything with timestamps. Most homeowners who do this once a year catch R-value degradation and duct leaks 2-3 years before they show up on the utility bill.
Table of Contents
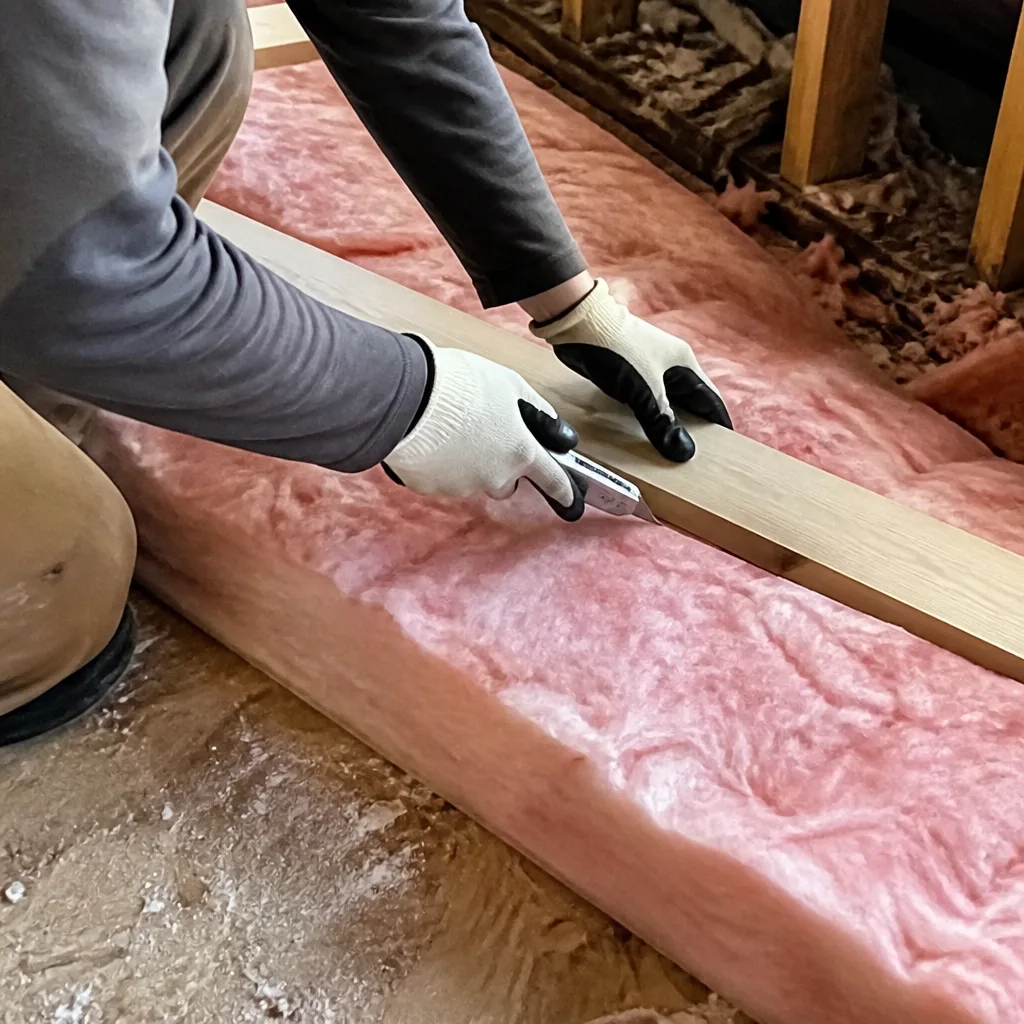
- Why Annual Inspections Matter in Pflugerville
- The Six-Point Homeowner Inspection Form
- How to Identify Wind-Washing at the Eaves
- Reading Condensate Stains and Duct Pressure Problems
- Pest Signs: Squirrels and Roof Rats in the Pflugerville Corridor
- Photographing and Timestamping Your Attic Record
- What Your Documentation Tells a Contractor
- Common Mistakes to Avoid
- When to Call a Professional
- Frequently Asked Questions
- The Bottom Line
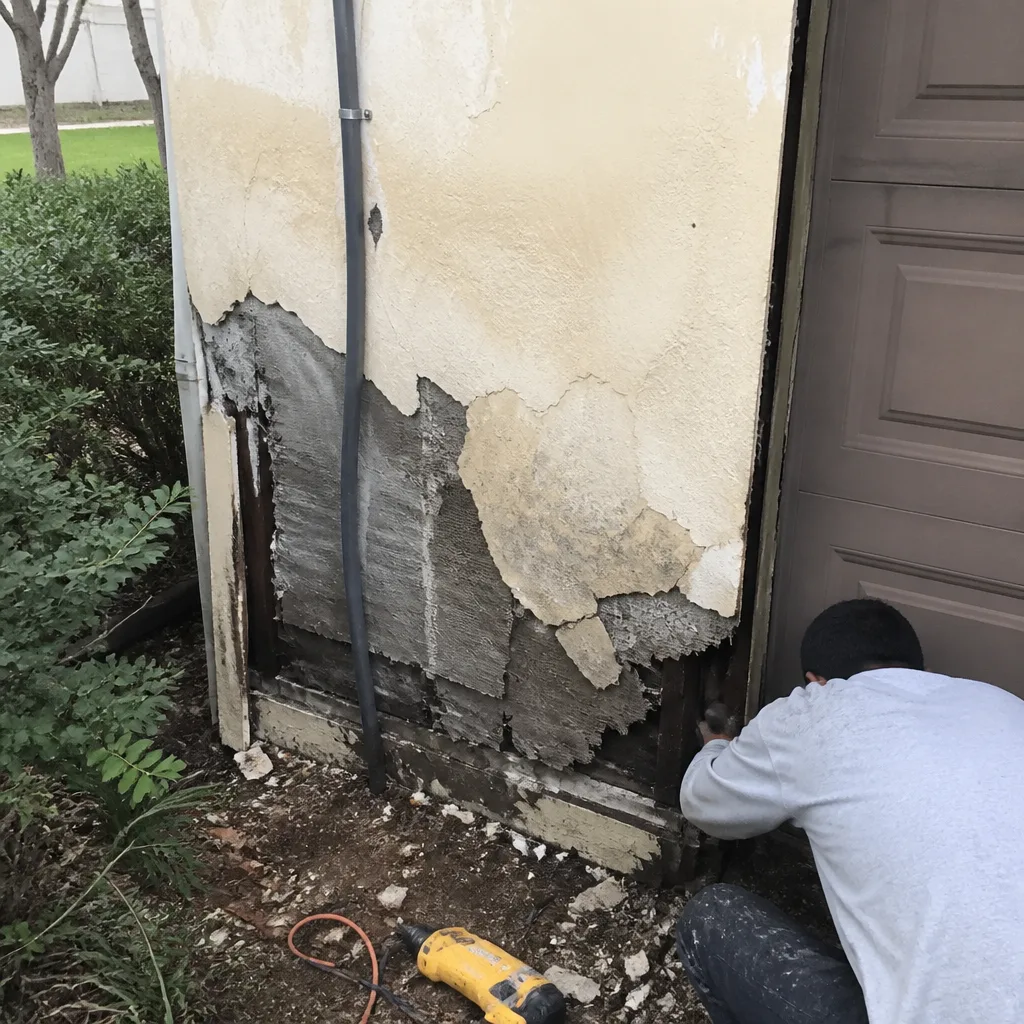 Before
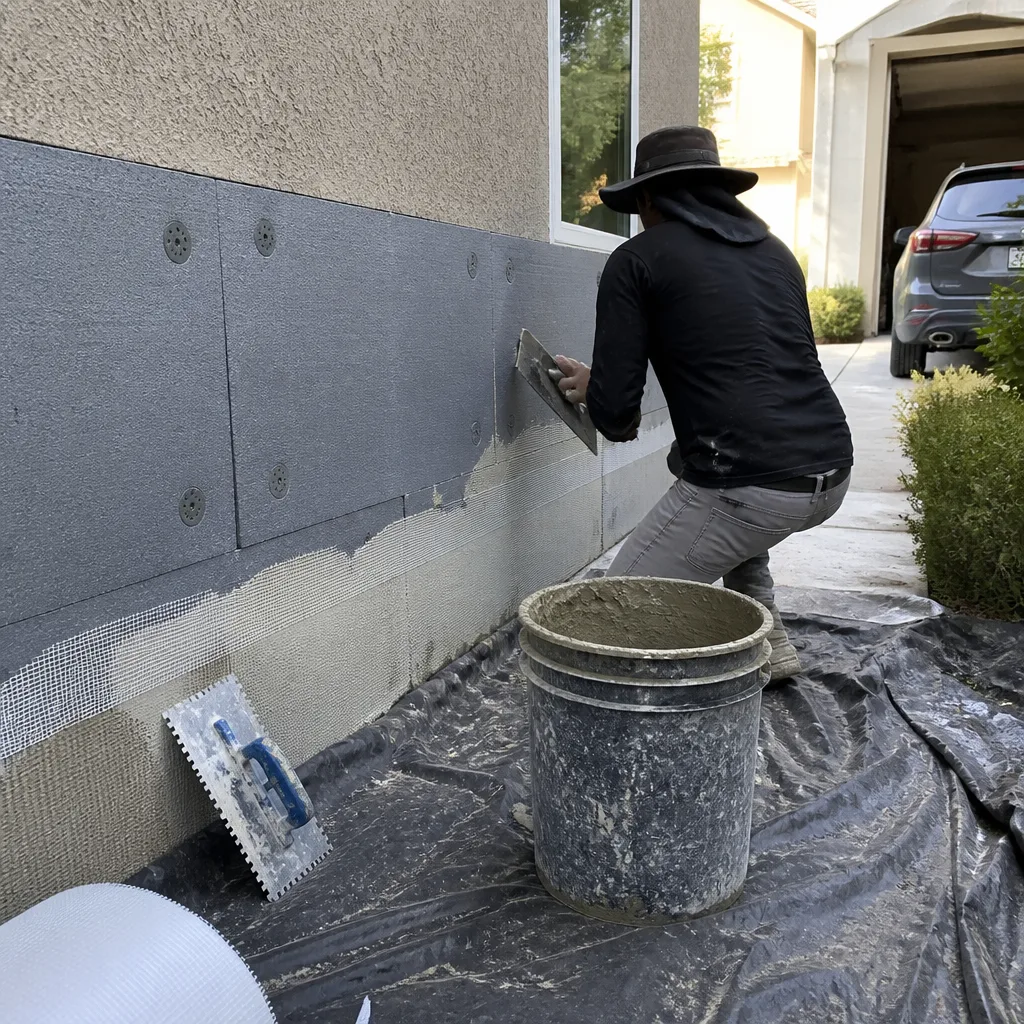 After
AfterWhy Annual Inspections Matter in Pflugerville
Pflugerville sits in a tricky climate zone for attic performance. We’re hot-humid eight months of the year, with attic temperatures regularly hitting 140°F in July and August. Then winter brings hard freezes that can drop attic temps below 40°F when Arctic fronts push through. That thermal whiplash stresses every component of the attic assembly, from fiberglass batts to spray foam to the ductwork running through it.
The 2012 and 2018 IECC energy codes adopted by Texas require R-38 to R-49 in attics for new construction, but most Pflugerville homes built between 1995 and 2015 were insulated to R-30 or less. Add a decade of settling, and many attics in neighborhoods like Windermere, Avalon, and Heatherwilde are performing at R-20 or below without the homeowner knowing it. The conditioned space feels fine, the thermostat reads 72°F, and the electric bill creeps up $8-$12 per month until suddenly it’s $40 higher than the same month three years ago.
Annual inspection catches this drift early. More importantly, it creates a paper trail. When you eventually call a contractor, you have dated photos showing insulation depth, hatch condition, and any problem spots. This changes the conversation from “I think my attic needs more insulation” to “My R-value dropped from R-38 to R-26 between March 2023 and March 2025, and here’s the photo evidence.” The first statement invites a sales pitch. The second invites a technical response.
We’ve found that homeowners who arrive with documentation get more precise scopes of work and more accurate pricing. Under Topside Attic Insulation Pflugerville home protocols, a customer with a two-year photo record typically receives a tighter estimate with fewer contingencies built in, because the unknowns have been reduced.
Three forces specific to this region accelerate attic degradation:
- Settling of blown-in fiberglass and cellulose: Loose-fill insulation loses 10-15% of its installed depth in the first 2-3 years, then continues settling at 2-3% annually. A 14-inch installation meant to achieve R-38 may measure 11 inches within five years.
- Wind-washing at eave vents: Pflugerville’s prevailing south-southeast winds, combined with open-soffit venting common in tract homes, blow insulation back from eave edges and expose top plates. This creates thermal bridging that infrared cameras pick up as distinct cold strips on ceiling drywall in winter.
- HVAC runtime and duct pressurization: Central Texas cooling loads are extreme. Ducts in unconditioned attits run at pressures of 0.5-1.0 inches water column, and any joint separation leaks conditioned air directly into the attic. That lost air must be replaced by infiltration from outside, which drives humidity into wall cavities and can condense on cool duct surfaces.
The Six-Point Homeowner Inspection Form
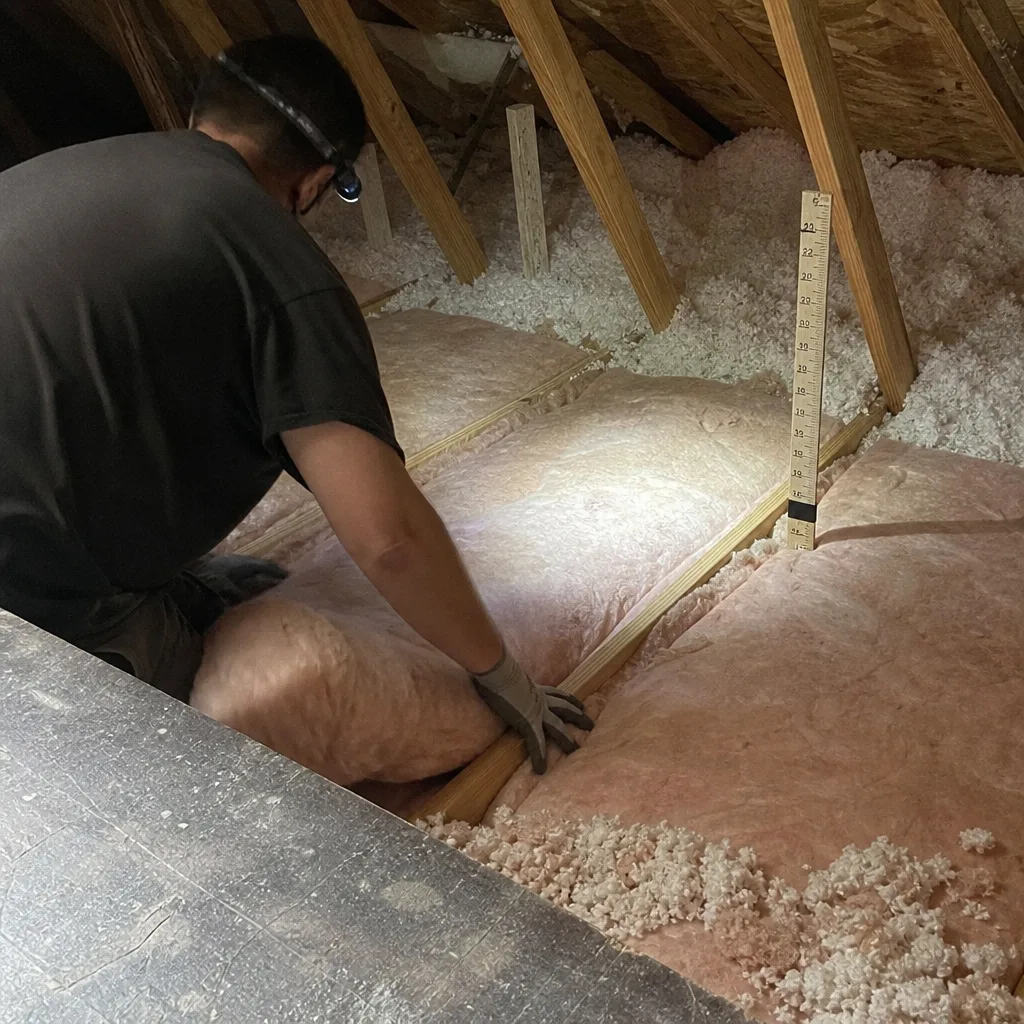
This is your annual documentation tool. Print it, fill it out by hand, and file it with your home maintenance records. The measurements take 20-30 minutes once you know the layout.
- Insulation depth at three quadrants
Measure from the drywall ceiling surface to the top of the insulation material. Do not compress the material while measuring. Record:
- North/upper attic: _____ inches
- Center attic: _____ inches
- South/lower attic (near eaves): _____ inches
Subtract your measurement from the original installed depth (check your builder’s spec sheet or home inspection report). If you’ve lost more than 20% depth, you’ve likely lost proportional R-value. In Pflugerville, we regularly see 12-inch cellulose installations in 2010-era homes now measuring 8-9 inches in the center and 4-5 inches at the south eave where wind-washing is worst.
- Access hatch perimeter gap
Close the hatch from below. Shine a flashlight up at the crack and look for daylight. Measure the widest continuous gap:
- Maximum gap: _____ inches
- Total linear feet of visible light: _____ feet
Builder-grade hatches in Pflugerville’s production homes are typically 1/4-inch particleboard with no weatherstripping. A 1/8-inch gap around a 30×30-inch hatch equals roughly 18 square inches of uncontrolled opening, equivalent to a 4-inch diameter hole in your ceiling. In summer, this is a direct injection of 140°F air. In winter, it’s a chimney for your heated air.
- Visible duct joint separations
Trace each duct run from the plenum to the register boot. Look for:
- Gaps at flex duct-to-metal connections
- Sagging flex duct touching insulation (condensation risk)
- Tape that has peeled or turned to dust (common on foil tape after 8-10 years in attic heat)
- Water staining on insulation directly below duct joints
Count the number of suspect joints: _____
- Moisture staining on insulation or decking
Look for dark gray or black discoloration on fiberglass, or crusted, flattened areas in cellulose. Note location and approximate size:
- Location: _____
- Approximate dimensions: _____
- Active wetness (material yields water when pressed): Y / N
- Pest disturbance signs
Look for tunneling, nesting material, or droppings. See the detailed section below for identification. Record:
- Type of sign observed: _____
- Location: _____
- Estimated area affected: _____ square feet
- Wind-washing at eave edges
Measure insulation depth at the eave, 12 inches in from the edge of the exterior wall top plate. Compare to your center-attic measurement. Record:
- Eave depth: _____ inches
- Center depth: _____ inches
- Difference: _____ inches
A difference greater than 3 inches indicates significant wind-washing. In Pflugerville’s open-soffit homes, we’ve measured 6-inch and greater differentials.
Date this form and keep it with your home files. Next year, use the same three measurement points for valid comparison.
How to Identify Wind-Washing at the Eaves
Wind-washing is insulation displacement caused by airflow entering soffit vents and moving across the attic floor before exiting at ridge or gable vents. The air stream physically pushes loose-fill material back from the eave edge, exposing the top plate of the exterior wall. This creates a thermal bridge, a narrow zone where heat flows around the insulation rather than through it.
In Pflugerville, wind-washing is endemic to homes with continuous open-soffit venting, particularly those built by D.R. Horton, Lennar, and Pulte between 2000 and 2015 in developments like Highland Park, Falcon Pointe, and Sorrento. These homes typically have 2-4 square feet of soffit vent area per side, with no baffles or air dams to direct airflow above the insulation plane.
Identification requires a tape measure, not visual inspection alone. Blown fiberglass is especially deceptive, it can look fluffy and continuous from a distance while being nearly absent at the eave edge. Here’s the measurement protocol:
- Locate the exterior wall top plate by finding where the ceiling drywall meets the roof rafter. The top plate is the horizontal framing member directly above this intersection.
- Measure insulation depth 6 inches in from the top plate edge. Record this.
- Measure insulation depth 24 inches in from the top plate edge, toward the attic center. Record this.
- Calculate the percentage difference: (center depth – eave depth) / center depth × 100.
A difference under 15% is normal settling. Between 15% and 30% indicates moderate wind-washing. Over 30% means the eave is effectively uninsulated. In a 2014-built home in Windermere we assessed last spring, the center attic measured 13 inches of Owens Corning AttiCat fiberglass while the south eave measured 4 inches, a 69% differential. The homeowner’s bedroom below that eave ran 4°F warmer than the rest of the house in summer.
Proper remediation installs cardboard or foam baffles between rafters at each bay, extending from the soffit vent opening to at least 6 inches above the intended insulation height. This channels airflow above the insulation plane without displacing material. Then the eave is re-insulated to full depth. Attic Insulation in Pflugerville projects that include baffle installation typically show 15-20% reduction in cooling runtime on the affected zone.
Wind-washing is rarely caught in standard home inspections because it requires attic entry with a tape measure, and most inspectors visually scan from the hatch. Your annual measurement is likely the only documentation that exists.
Reading Condensate Stains and Duct Pressure Problems
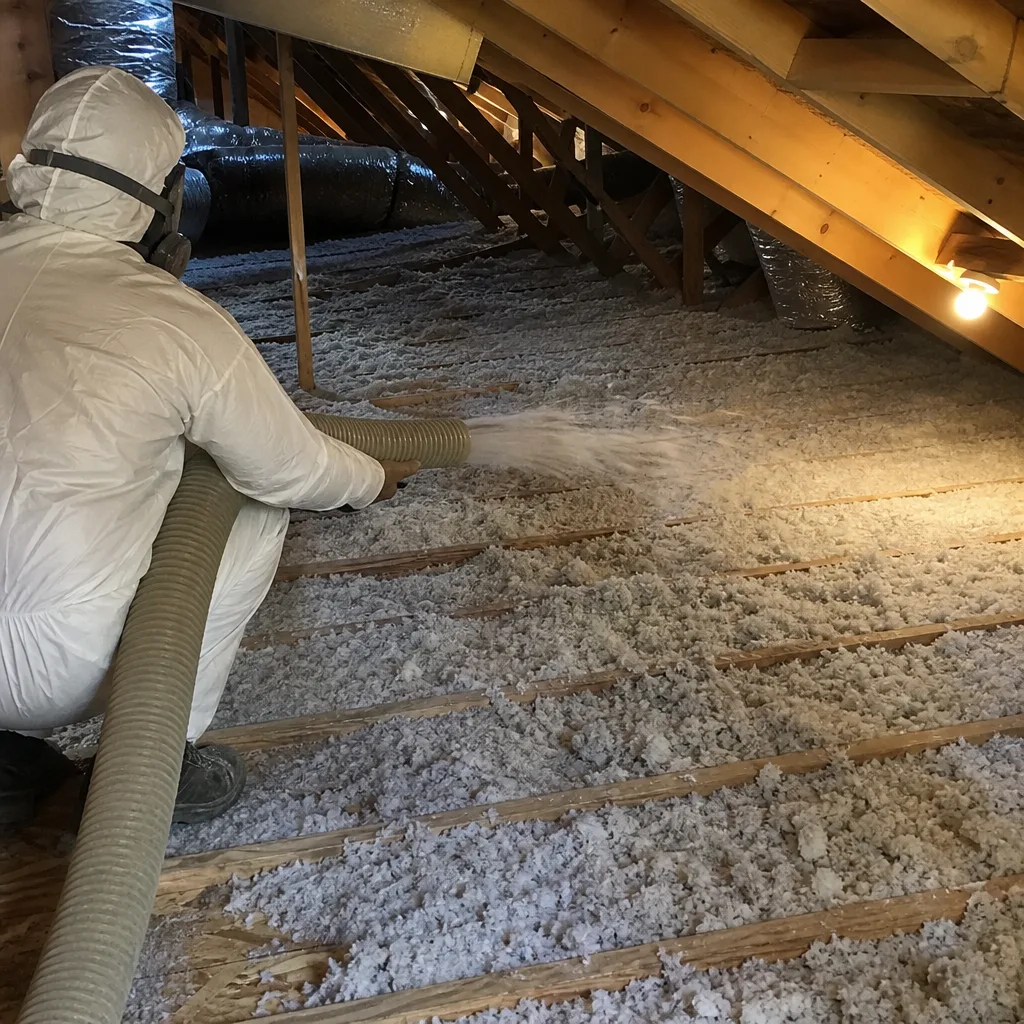
Dark staining on attic insulation near ductwork is not roof leakage in most Pflugerville homes. It’s condensation from the duct surface, driven by one of three pressure mechanisms:
- Supply duct leakage: A separated joint on the supply side leaks 55°F conditioned air into the 140°F attic. The cold air drops onto insulation below, chilling it below the dew point. Moisture from attic air condenses on the cool surface and wicks into the insulation.
- Return duct leakage: A leak on the return side pulls hot, humid attic air into the duct. The air handler must run longer to achieve setpoint, and the extended runtime chills the entire duct trunk. Surface condensation forms on the exterior of the duct, especially at joints and supports where thermal bridging occurs.
- Excess static pressure: Undersized return ducts or dirty filters raise system static pressure, which increases air velocity at leaks and amplifies both supply and return leakage rates.
The critical diagnostic: if the stain is directly below a duct joint or support, and the roof decking above shows no corresponding water trail, it’s almost certainly duct condensation, not roof leak. Roof leaks in Pflugerville typically follow nail lines or occur at valley flashings, producing streaked patterns on decking and often missing the insulation entirely if the leak is small.
Drying the insulation without addressing the duct is a temporary fix. The stain will return within one cooling season because the pressure driving the condensation remains. Proper remediation requires:
- Pressure-testing the duct system with a duct blaster (a calibrated fan that measures leakage to outside at 25 Pascals pressure)
- Sealing all accessible joints with mastic, not tape
- Verifying with a second duct blaster test
- Replacing water-damaged insulation, which has compressed and lost R-value
We’ve documented this sequence on hundreds of Attic Insulation in Pflugerville jobs. A typical 2000-square-foot home with 15% duct leakage to outside will show 300-500 CFM25 on the duct blaster before sealing and 75-100 after. The homeowner receives both numbers in writing, along with photos of each sealed joint.
If you find active wetness, meaning water squeezes out when you press the insulation, photograph it and call a professional. Wet cellulose supports mold growth within 48 hours in Pflugerville’s humidity. Wet fiberglass is less biologically active but loses all insulating value until fully dried, which may take weeks in a ventilated attic.
Pest Signs: Squirrels and Roof Rats in the Pflugerville Corridor
The Pflugerville-to-Round Rock corridor has seen increasing roof rat and fox squirrel activity over the past decade, driven by mature oak canopy in established neighborhoods and construction disturbance in new ones. Both species access attics through gaps of 3/4 inch or larger, which means most builder-grade attic hatches qualify.
Squirrel activity is usually obvious: nut shells, shredded insulation in nest piles 8-12 inches across, and 1/2-inch droppings scattered near travel paths. They prefer fiberglass batts for nesting material and often compress a 3-foot circle down to 1 inch depth. The damage is localized but severe.
Roof rats are subtler and more destructive. They tunnel through loose-fill insulation, creating 3-4 inch diameter runways that look like shallow trenches. The insulation appears undisturbed from above until you press down and feel the hollow channel. Their droppings are 1/4-inch, spindle-shaped, and often concentrated near water sources, which in an attic means condensate lines, drip pans, or wet insulation from duct leaks.
Key inspection points:
- Hatch perimeter: Look for gnaw marks on the frame, greasy rub marks from fur oils, or compressed insulation directly below a gap. A squirrel can enlarge a 1/4-inch hatch gap to 1 inch in a single season.
- Eave and soffit junctions: Check where roof trusses meet exterior walls. Rats often enter at construction gaps where fascia meets soffit, then travel along the top plate.
- Insulation uniformity: Walk the attic center on joists or a plank. Press down gently with a broom handle. Hollow areas indicate tunneling. Note locations on your form.
- Odor: A faint ammonia smell indicates active occupation. A musty, oily smell suggests past activity with residual urine saturation in the insulation.
If you find evidence, document before disturbing. Photograph the area, note approximate square footage affected, and mark locations on a rough attic sketch. Then call pest control before insulation repair. Replacing insulation over active entry points wastes money; the pests will re-tunnel within weeks.
After pest remediation, compressed or urine-contaminated insulation should be removed, not topped. Contaminated cellulose cannot be sanitized effectively. Contaminated fiberglass can be cleaned in place only if the contamination is minor and surface; deep urine saturation requires removal. Crawl Space Encapsulation & Vapor Barrier in Pflugerville follows similar contamination protocols, and many homeowners addressing attic pest issues discover they need the same assessment below grade.
We’ve removed and replaced insulation in attics throughout Pflugerville where homeowners initially tried adding new material over pest damage-a scenario covered in our DIY vs Professional Insulation: The Pflugerville Homeowner’s Decision Guide. The odor persisted, and the new insulation simply followed the contour of the compressed tunnels below. Starting clean is the only effective approach.
Photographing and Timestamping Your Attic Record
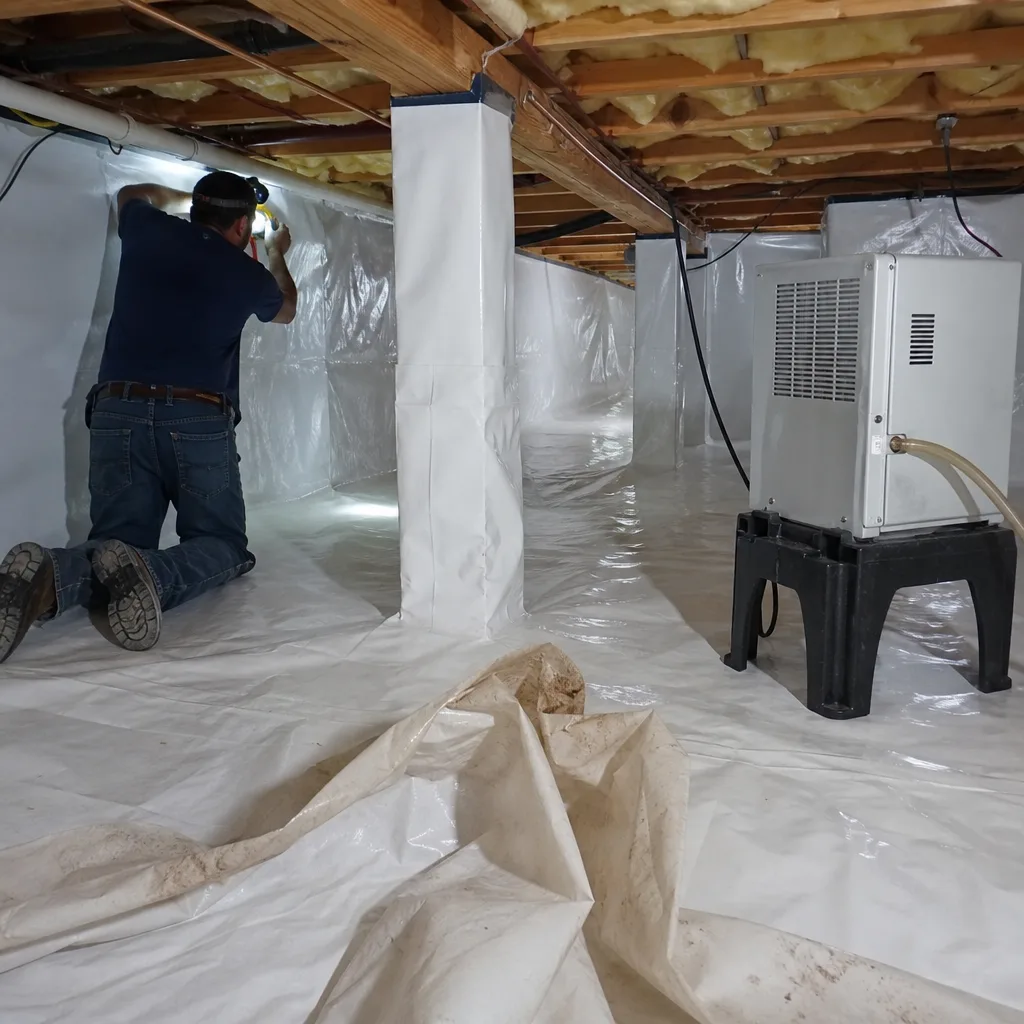
Your smartphone is the most powerful documentation tool you own. A dated photo record transforms vague memory into admissible evidence, for warranty claims, contractor disputes, and your own year-over-year comparison. Here’s how to make it useful:
- Enable timestamp overlay in your camera settings, or use an app like Timestamp Camera that burns date, time, and GPS into the image file. This prevents any dispute about when the photo was taken.
- Shoot wide establishing frames first. Stand at the hatch and photograph each cardinal direction. These establish overall conditions and help you remember the attic layout.
- Shoot measurement photos. Place the tape measure in the frame with the insulation depth visible. Include a note card with the quadrant location. Example: “North attic, 2 ft from hatch, 11 inches.”
- Shoot problem areas with context. For a duct stain, frame the stain, the duct joint above it, and enough surrounding area to show it’s not a roof leak. For wind-washing, shoot the eave measurement and the center measurement in the same session so lighting conditions match.
- Shoot the hatch from below and above. Below: show the gap with light coming through. Above: show the hatch from the attic side, including any missing weatherstripping or degraded insulation.
- Upload to cloud storage same day. Create a folder: “Attic Inspection 2025-03-15.” Include your completed paper form as a scanned PDF. Set a calendar reminder for 12 months.
When you eventually hire a contractor, email this folder in advance. A technician who knows you have documentation arrives prepared to discuss specifics, not sell generically. At Topside Attic Insulation Pflugerville home, we review customer photo records before scheduling to confirm we’re the right fit and to prepare accurate preliminary scopes.
The photo record also protects you. If a contractor claims a condition “wasn’t like this last year,” you have evidence. If your homeowner’s insurance questions a water damage claim, you have dated documentation of pre-existing conditions. The 20 minutes you spend photographing saves hours of dispute later.
What Your Documentation Tells a Contractor
Most homeowners call with a symptom: “My upstairs is hot,” or “My electric bill is high.” The contractor arrives, enters the attic, and delivers an assessment you’ve no way to verify. Your documentation inverts this dynamic.
Here’s what specific records communicate:
- Three-point depth measurements over two+ years: You understand that insulation settles and you’re tracking the rate. This signals you won’t accept “just add a few inches” as a complete solution if the underlying cause is wind-washing or compression.
- Hatch gap measurement: You know about thermal bypass. A contractor who doesn’t mention air sealing the hatch before adding insulation is either uninformed or planning to sell you insulation you don’t need yet.
- Duct stain photos with location mapping: You’ve identified a likely pressure problem. The scope of work should include duct assessment, not just insulation replacement. If the contractor has no duct blaster or doesn’t mention mastic sealing, they may not be equipped to solve the actual problem.
- Pest documentation with area measurements: You understand that contaminated insulation requires removal. A contractor who proposes adding new material over pest damage without remediation is proposing a temporary fix.
- Wind-washing measurements: You know about baffles. The estimate should include baffle installation at affected bays, not just more insulation that will wash away again.
Your records also enable meaningful comparison between contractors. When three companies bid on “insulate my attic,” their scopes vary wildly. When three companies bid on “restore R-38 performance, seal a 1/8-inch hatch gap, install baffles at 12 south eave bays, and replace 40 square feet of rodent-contaminated cellulose,” the proposals become comparable. The vague job invites low bids with hidden contingencies. The specific job invites precise pricing.
This is the core of how we operate at Topside Attic Insulation Pflugerville. We publish before-and-after blower-door numbers on every applicable job, a pressurization reading that shows, in one figure, how much conditioned air the building envelope was losing before and after our work. Homeowners with their own documentation can verify our results against their baseline. For more guides & resources on building your own records, see our blog. The measurement either holds up or it doesn’t, and either way, you have the data.
Materials matter too. We source from Owens Corning, Johns Manville, Knauf, and Rockwool, among others, with no proprietary lock-in. Your documentation helps us specify the right product for your condition. Wind-washed eaves with limited access may suit dense-packed Rockwool, which resists airflow displacement better than loose fiberglass. A hatch with chronic gap issues may need a proprietary insulated hatch assembly rather than weatherstripping alone. The specific problem drives the specific material choice.
Common Mistakes to Avoid
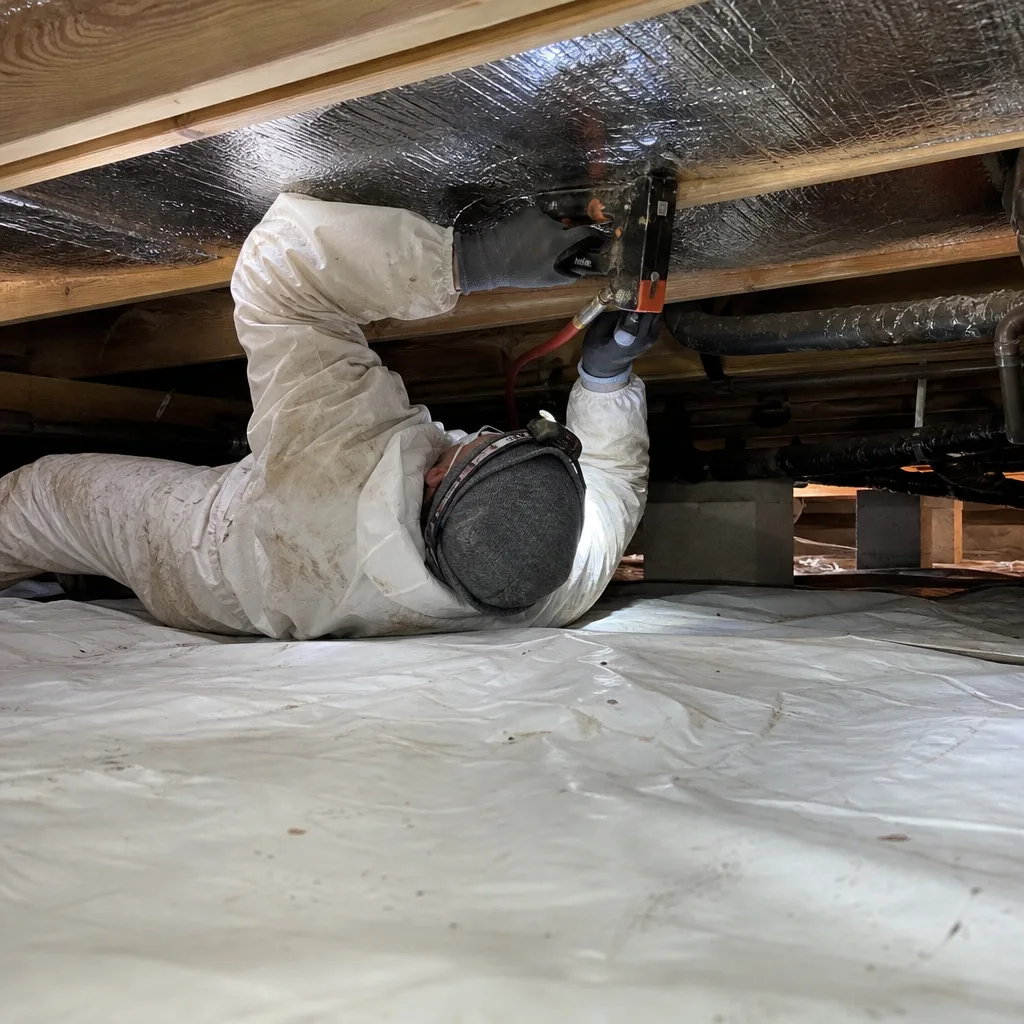
- Adding insulation over settled material without measuring the cause. If your insulation settled because of wind-washing, new material will settle too. The fix is baffles and air dams, not more depth.
- Sealing the hatch from the living space side only. Weatherstripping the hatch frame helps, but the hatch itself is often uninsulated 1/4-inch board. It needs an insulated cover or replacement assembly, not just a foam gasket.
- Ignoring condensate stains until they show on the ceiling. By the time drywall stains appear, the insulation below has been wet through multiple cycles, compressed, and likely mold-affected. Address attic moisture at first observation.
- Assuming all Pflugerville attics need more insulation. Some need less, or different distribution. A 2018-built home in Rowe Lane with spray foam on the roof deck and sealed attic has fundamentally different needs than a 2005-built home in Heatherwilde with vented attic and fiberglass batts. Measure before assuming.
- DIY pest cleanup without protective equipment. Roof rat droppings can carry hantavirus. Disturbing contaminated insulation without N95 respirator, gloves, and eye protection is a genuine health risk. Document, then call professionals.
- Using compressed fiberglass as a depth measurement. Walked-on or pest-compressed insulation reads deeper than its effective R-value. Fluff the material gently before measuring, or note compression in your record.
- Skipping the annual inspection because “it was fine last year.” Attic conditions change fastest in years 5-15 after installation, when initial settling accelerates and first-generation materials begin degrading. Annual documentation catches the inflection point.
When to Call a Professional
Call a professional when your documentation shows change, not just when you feel discomfort. Specific triggers: insulation depth loss exceeding 20% from original installation, active moisture in any insulation layer, pest evidence that exceeds 10 square feet, duct stains that recur after one season, or wind-washing differentials over 30%. These conditions indicate systemic problems that homeowner maintenance cannot resolve.
Also call when you cannot safely access the area. Steep roof pitches, limited hatch openings, or active electrical hazards near the attic entry are valid reasons to stay out. A documented photo from the hatch perimeter is sufficient; don’t risk injury for a center-attic measurement.
Topside Attic Insulation Pflugerville offers free estimates in Pflugerville. We’ll review your photo record with you, confirm your measurements, and provide a written scope and written price before any work starts. That’s Haven Standard Clause 1, and it’s how we’ve operated since 2016. Call (737) 259-8352 to schedule.
Frequently Asked Questions
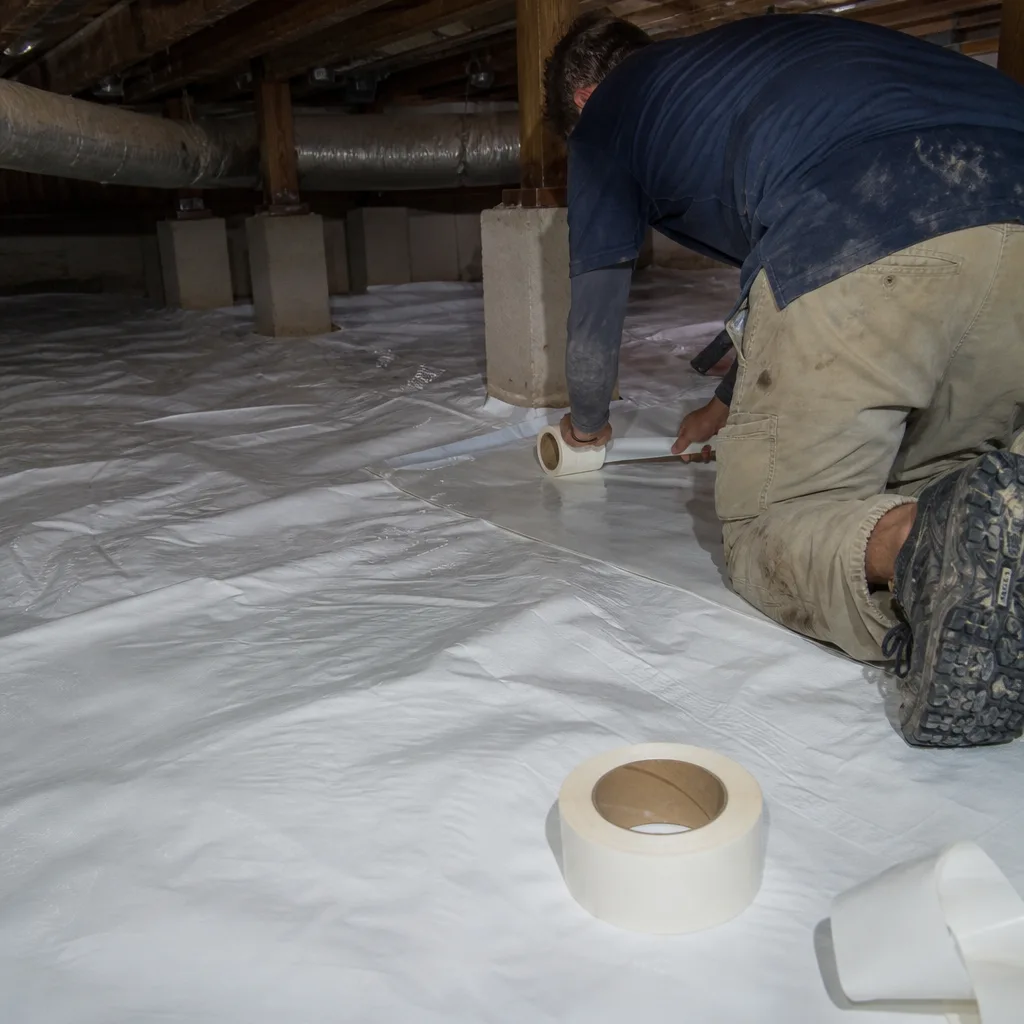
Inspect annually, ideally in late February or early March before cooling season begins. This timing lets you address problems before the attic hits peak summer temperatures, and it follows any winter freeze-thaw cycles that may have opened new gaps or cracks. Mark your calendar for the same weekend each year.
Current Texas energy code calls for R-38 to R-49 in attics, which translates to roughly 12-15 inches of blown fiberglass or 10-13 inches of cellulose, depending on product density. However, many Pflugerville homes built before 2015 were originally insulated to R-30 or less. Your target should be code-level performance, not just matching what was there.
Yes, if the old insulation is dry, uncontaminated, and uncompressed. No, if there’s pest damage, moisture staining, or significant compression. In those cases, removal and replacement is the only effective approach. Adding new material over damaged old material traps problems and wastes money.
Depth doesn’t equal performance. Common causes in Pflugerville: wind-washing at eaves exposing top plates, duct leakage pressurizing the attic with conditioned air, or thermal bypass at the attic hatch. Measure before assuming you need more insulation. Call (737) 259-8352 for a free assessment if your measurements show adequate depth but comfort problems persist.
Most attic insulation jobs in a Pflugerville home of 1,800-2,400 square feet run between $2,800 and $5,500 for full removal and replacement with air sealing, or $1,800 to $3,200 for supplemental insulation with baffle installation. Duct sealing adds $800-$1,500. Exact pricing depends on accessibility, contamination status, and whether the attic is vented or sealed. We provide a written price before any work starts, always. Call (737) 259-8352 for a free estimate.
Fiberglass is common, affordable, and performs well when properly installed, but it settles and is vulnerable to wind-washing. Cellulose has slightly better air resistance and fills irregular spaces well, but it absorbs moisture and requires pest vigilance. Spray Foam Insulation in Pflugerville creates an air barrier and thermal barrier in one application, suitable for sealed attics or roof deck applications, at higher initial cost. The right choice depends on your attic type, budget, and whether air sealing is performed first. We specify from Owens Corning, Johns Manville, Knauf, and Rockwool based on application, with no brand lock-in.
The Bottom Line
Attic insulation maintenance in Pflugerville is not a contractor-only activity. An annual homeowner inspection, measuring depth at three points, checking the hatch gap, documenting duct conditions, and photographing everything with timestamps, gives you a baseline that changes every conversation you have about your home’s performance. Most attic problems develop slowly: settling, wind-washing, duct leakage, pest intrusion. Caught early, they’re manageable. Ignored for years, they compound into comfort problems, high utility bills, and expensive remediation. The 30 minutes you spend with a tape measure and flashlight this March is the cheapest home improvement you’ll make all year.
Written by Wes Okafor, Owner at Topside Attic Insulation Pflugerville, serving Pflugerville since 2016.